Thursday, August 25, 2011

DIY insulated snack pouch

I have been searching for a small insulated snack pouch, to carry in my purse, for a long time, and couldn't find any, so I decided to do it myself.  A half melted cheese stick is not very appetizing, hence the need to make it so it can keep cool snacks at an adequate temperature. I found neoprene fabric at Joann. That is the fabric used to make wetsuits, and I have seen some lunch bags made in this material.

Pretty much self explanatory. Cut a rectangle, sew the sides, add velcro, trim with pretty ribbon, all done, instant gratification!!!!!!!! No more excuses to not carry healthy snacks around.


Friday, July 29, 2011

Swimming with finned angels!!!

I haven't had time for any projects lately, sin the last 2 weeks have been busy at work, busy as in 18 hr days, surgery after surgery.
I have been in Florida for a short vacation for the last 2 days, hitting the beach. Today the most magical thing happened. While watching a manatee come up to the surface for air, a dolphin came swimming behind and around me, then came in front of me, turned on his back to look at me, and took my hand in it's mouth, ever so gently!!!! I was terrified for a minute, and it swam around about 5 times. It came up to me three more times, I dared to touch it's head once, it was amazing!!!!!! It's eyes were so kind!!!!!!!
I'm in love, for ever,let's keep our planet healthy, so this precious wildlife can amaze us with their beauty for ever.

Sunday, July 10, 2011

DIY Kimono style top, jacket

On a recent shopping trip I spotted a very cute kimono jacket. Soft, drapey, perfect to wear with jeans and a tank top. The Winter Kate kimono was beautiful, but pricey. I decided to give it a try and DIY.


I made the pattern by copying a blouse with a loose fit.

Trace the shape, adding seam allowances. You only have to trace half the pattern, since the fabric is cut on the fold.

Trace the shape for the front and the neck at the back.


Extend the front as shown, and also extend the sleeve for about 1 inch.


You want to add a rectangle of fabric to make a wide sleeve, so cut a rectangle, the same width of the sleeve, and about 8 inches long. You are going to place this rectangle on the fold of the fabric, to have the whole sleeve.


 Cut one back on the fold, two fronts, and 2 sleeves on the fold.


You also need to cut 4 fabric strips, tha same shape of the front, the same length, but only 2.5 inches wide.
Cut two  2.5 inch strips,  the same shape as the back neck.


This are all the pieces. Time to sew!
Sew the shoulder seams with right sides together.


 Fold the sleeves in half lengthwise, also mark the center of the sleeve. Pin the sleeves to the right side of the kimono. Match the center of the sleeve to the shoulder seam. Sew.


 Looks cute already!!!!!!!!!!!!!!!


Now with right sides together sew the sides from the sleeves to the bottom.

With right sides together, sew the front bands to the back neck band.


 Do this for both sets, since there are 2 sets. Afterwards, with right sides together, sew the front edge  .

Turn the right side out, and pin to the right side of the front of the Kimono. Sew.

Hem the jacket, and you are done!!!!!!!!!!! I made a sash to go with it, but it looks cute left open too.


Leave your comment!!!!!!!!!!!!!!!!!!!!!!!!!!!!!!!

Thursday, June 23, 2011

Glammed up simple dress


I have a favorite dress pattern, which is a Butterick one hour pattern, that it's so easy, and fast to make, that it is very rewarding. After cutting the pattern pieces, I added lace to the front of the dress and an elastic around the waist for an updated look.         


 A little lace goes a long way!!!!!!!!! There are many creative ways to switch up a favorite patter. Post your thoughts!!!!!!!!!!!!!!!!!!!!!!
                                      

Sunday, June 19, 2011

Summer White Miniskirt


 Summer is here and a white mini is an essential piece in my wardrobe.  I saw a miniskirt  by BCBG, with pleats at the hem, and I gave it a try, I got compliments when I wore it!!!!! Super easy and inexpensive to make.
You need about 3/4 yds of fabric, silky and soft, and 1.5 inch wide elastic.

Fold the fabric in half, selvages together.  Mark the position of the pleats and leave about 1.5 inches at the bottom for a hem. I put 3 pleats.  They were about 1.5 inches apart.


Fold the fabric along the pleat mark and sew, the pleats are 3/4 inch wide. Repeat this for all 3 pleats.

 Press the pleats down.


Gather the top edge, with a long machine stitch. Don't gather it too tightly, you need to be able to put it on through your head. 


Cut a piece of elastic the same length of your waist measurement.
Pin the elastic to the top. Match the center of the top to the center of the fabric.  Sew the elastic to the top of the skirt, stretching the elastic.


 Sew the side seam, hem your skirt, and you are ready!!!!!!!!!!!!!

Leave your comment, and post your picture as  well!!!

Sunday, June 12, 2011

Leather Trim Skirt


The leather pieces I bought for my last project inspired me to make something else. I found a bright green fabric at the local store and decided to make a skirt.
Here it goes, if you like it, leave your comment!!!!!!!!!!!!


Cut 2 pieces from the leather, for the band. Measure your waist, add 2 inches for seam allowances, and each piece should be half that measurement with a little curve, so it fits close to the body.


 Cut 2 rectangles for the skirt. About twice as wide as the leather bands. Cut one of them in half, to add a zipper in the back.
You will have 3 panels total, one twice as wide as the other two. The length should be what you want the skirt to be, plus about 3 inches for hemming.


Gather the top of each panel.


Sew the leather bands to the fabric, right sides together, the convex side of the curve goes to the fabric.


Sew the sides with right sides together.
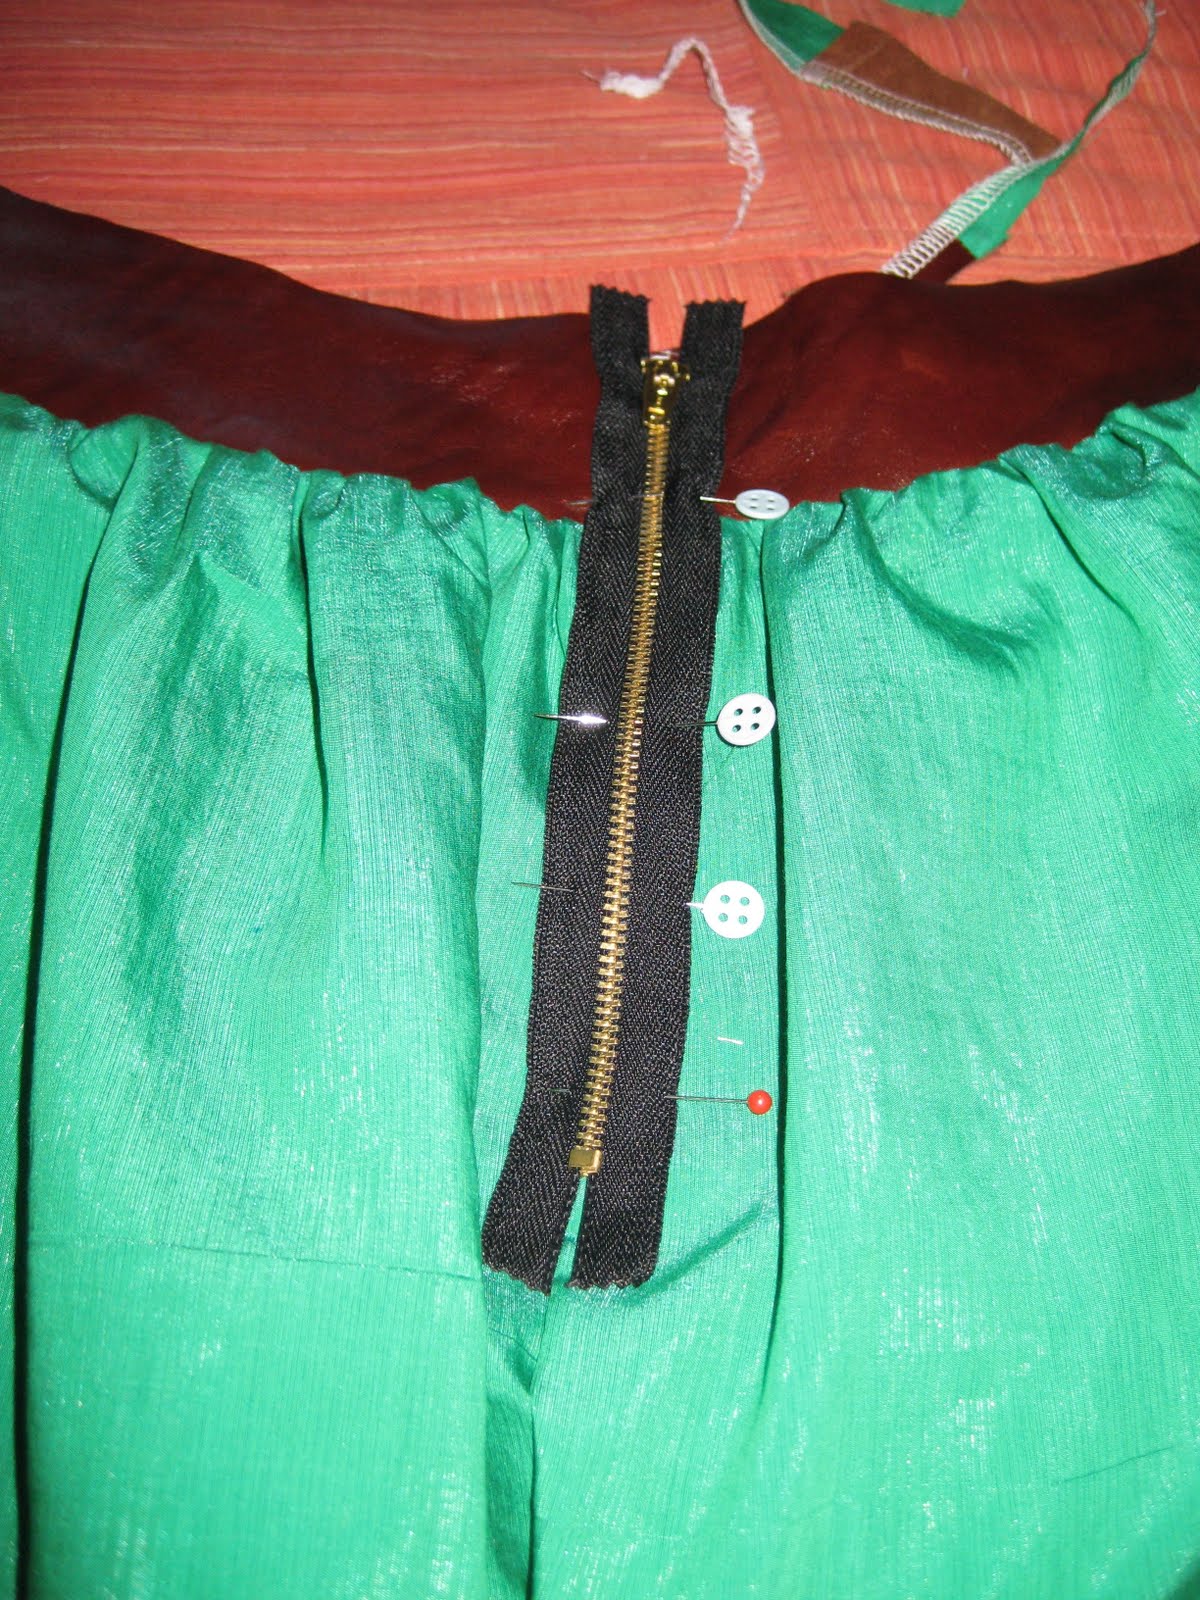
And Sew the back center seam from the bottom to where the zipper will stop. Mine is 7 inches. I placed an exposed zipper because I like the look.


Pin the zipper in place and sew. 
You can turn the upper ends of the zipper to the inside of the skirt and sew, and leave the leather edge raw.  I cut bands from the fabric and made a facing. 
Sew the facing to the leather band, right sides together.
Turn to the inside and sew in place.  
Hem your skirt and you are ready to go!!!!!!!!!!!!!!!!!!!!!!!!!!!!!!!!!!!!

 This is how it looks with the edge left raw.

 This is with facing.

 Leave your comment and let me know if you have any other ideas!!!!!!!!!!!!!!!!!!!!!!!!!!!!!!!!!!!