Thursday, June 23, 2011

Glammed up simple dress


I have a favorite dress pattern, which is a Butterick one hour pattern, that it's so easy, and fast to make, that it is very rewarding. After cutting the pattern pieces, I added lace to the front of the dress and an elastic around the waist for an updated look.         


 A little lace goes a long way!!!!!!!!! There are many creative ways to switch up a favorite patter. Post your thoughts!!!!!!!!!!!!!!!!!!!!!!
                                      

Sunday, June 19, 2011

Summer White Miniskirt


 Summer is here and a white mini is an essential piece in my wardrobe.  I saw a miniskirt  by BCBG, with pleats at the hem, and I gave it a try, I got compliments when I wore it!!!!! Super easy and inexpensive to make.
You need about 3/4 yds of fabric, silky and soft, and 1.5 inch wide elastic.

Fold the fabric in half, selvages together.  Mark the position of the pleats and leave about 1.5 inches at the bottom for a hem. I put 3 pleats.  They were about 1.5 inches apart.


Fold the fabric along the pleat mark and sew, the pleats are 3/4 inch wide. Repeat this for all 3 pleats.

 Press the pleats down.


Gather the top edge, with a long machine stitch. Don't gather it too tightly, you need to be able to put it on through your head. 


Cut a piece of elastic the same length of your waist measurement.
Pin the elastic to the top. Match the center of the top to the center of the fabric.  Sew the elastic to the top of the skirt, stretching the elastic.


 Sew the side seam, hem your skirt, and you are ready!!!!!!!!!!!!!

Leave your comment, and post your picture as  well!!!

Sunday, June 12, 2011

Leather Trim Skirt


The leather pieces I bought for my last project inspired me to make something else. I found a bright green fabric at the local store and decided to make a skirt.
Here it goes, if you like it, leave your comment!!!!!!!!!!!!


Cut 2 pieces from the leather, for the band. Measure your waist, add 2 inches for seam allowances, and each piece should be half that measurement with a little curve, so it fits close to the body.


 Cut 2 rectangles for the skirt. About twice as wide as the leather bands. Cut one of them in half, to add a zipper in the back.
You will have 3 panels total, one twice as wide as the other two. The length should be what you want the skirt to be, plus about 3 inches for hemming.


Gather the top of each panel.


Sew the leather bands to the fabric, right sides together, the convex side of the curve goes to the fabric.


Sew the sides with right sides together.
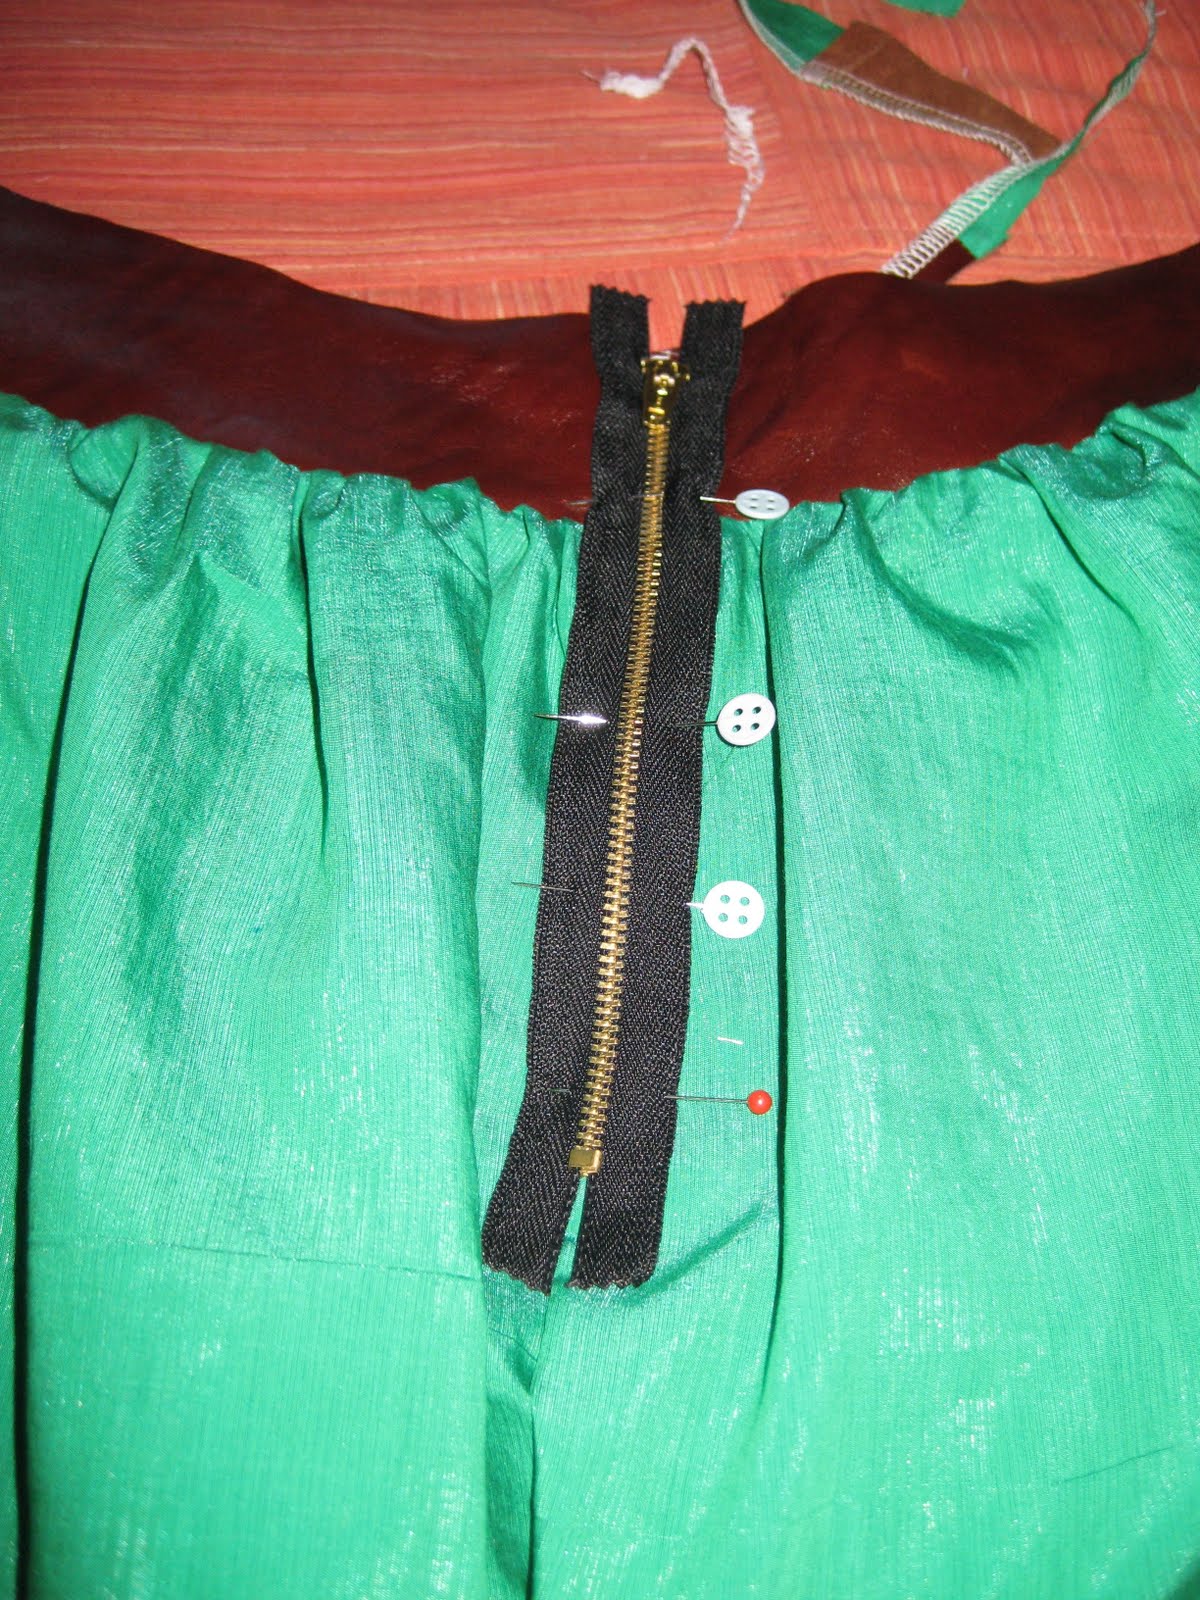
And Sew the back center seam from the bottom to where the zipper will stop. Mine is 7 inches. I placed an exposed zipper because I like the look.


Pin the zipper in place and sew. 
You can turn the upper ends of the zipper to the inside of the skirt and sew, and leave the leather edge raw.  I cut bands from the fabric and made a facing. 
Sew the facing to the leather band, right sides together.
Turn to the inside and sew in place.  
Hem your skirt and you are ready to go!!!!!!!!!!!!!!!!!!!!!!!!!!!!!!!!!!!!

 This is how it looks with the edge left raw.

 This is with facing.

 Leave your comment and let me know if you have any other ideas!!!!!!!!!!!!!!!!!!!!!!!!!!!!!!!!!!! 


Sunday, June 5, 2011

DIY Color block leather belt


 Belts can transform any outfit. I saw some color block belts, obi style, and I decided to give it a try. Super easy DIY. I bought some leather scraps from a local fabric shop, and used my own purchased skinny belts in different colors.


 I took a wide piece of leather and cut it in half, to make enough length to wrap around my waist.  The strips are 3 inches wide each.
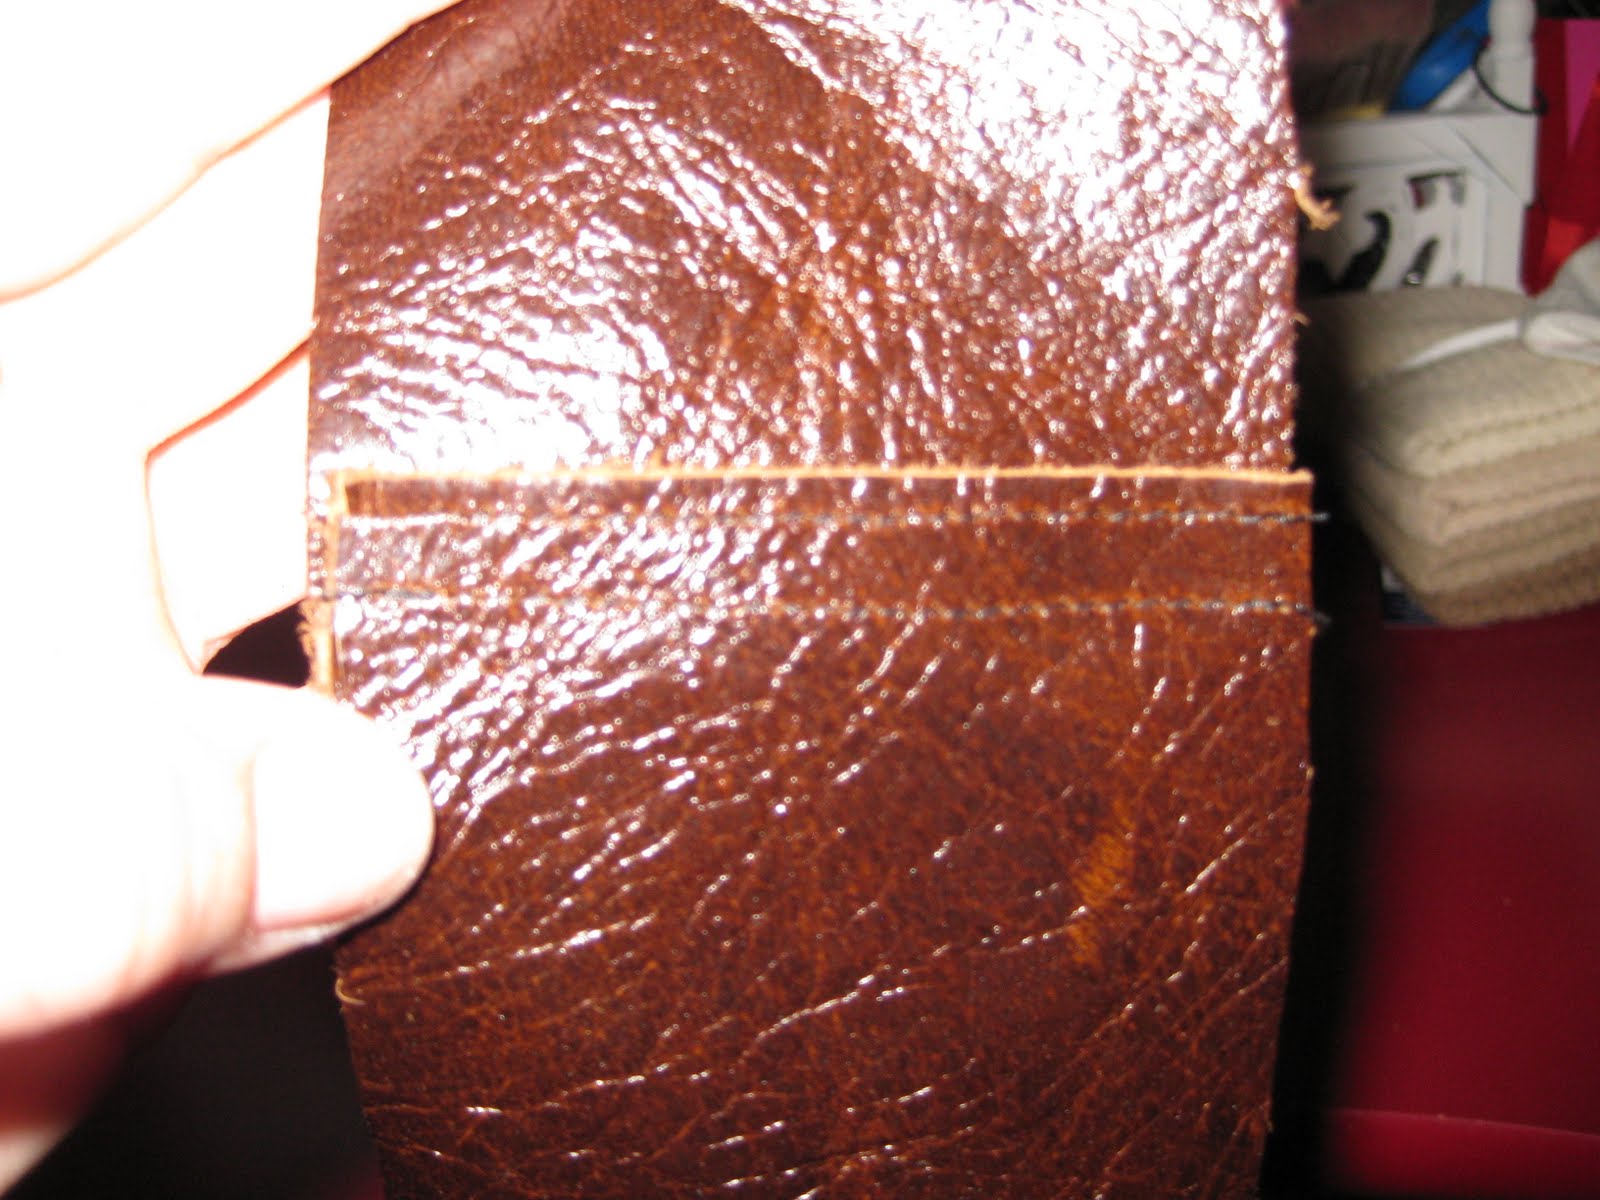
 Sew them together, with an overlap of about 1/2 inch. I sewed 2 straight rows.


 Now mark the slits to thread the skinny belt. They should be at equal distance from the center on each side, I used 8 and 10 inches.  Cut one inch slits where your marks are.  Thread your skinny belt.

 You can leave the edges straight or cut them in a V or rounded shape.


 You can switch belts, thread a ribbon, a suede cord, colorful scarf, or whatever you want.
Post your comments if you like this DIY!!!!!!!!!!!!!!!!!!!!

Thursday, May 19, 2011

DIY One Shoulder Top

This time of year is best to be bare, and one shoulder tops are one of my favorite ways to be cool and cute. It is easy to whip one up and i did just that.
You need about 1.5 yards of lightweight fabric, silk or similar, 1/4 inch elastic, and if you want a shirred bottom, you need elastic thread.  I hope you can understand my tutorial.


You need to draft an easy pattern. The measurements you need are the fullest part of your bust, the distance between the top of your shoulder and the underarm, the distance between the top of your shoulder and where you want the top to end, and the distance between the center of your neck in the front, and where your neck and your shoulder meet.


I use wax paper, from the kitchen.   Draw point A, add 4 inches to your bust measurement and divide it by 2.  Mark point B at this distance straight across from A.   Point F is placed up from point B with the measurement of the shoulder top to the underarm, and it goes about  2 inches in. This might change depending on your body, but you can change it later. Connect F and B with a curved line. You can use a french curve, or follow the curve from one of your tank tops.
Now, point E is about 1/2 inch higher than F, about 1.5 inches in.   If you measure from point E to the center of distance A-B, this should be about the measurement of the center of the front of your neck, and where your neck meets your shoulder.
points C will be about 2 inches out from point A, and it will be the length of your top. Point D is the same, straight across from C, about 2 inches away from point B.  Connect all the points, A-E and E-F will be straight, the only curve is F-B.

This is the front and back. Try the tissue on you, to make sure that it fits your body.   YOU NEED SEAM ALLOWANCES!!!!!


Cut 2 pieces from a single thickness of fabric.
You will want to embellish the neck line. I made a flounce.
 Cut a long spiral, as wide  as you want the flounce to be.  Wrap it around one shoulder and your chest as in the picture, and cut it about 2 inches longer, for seam allowances and ease of wear.  Sew the ends to close the flounce.


Sew the side seams and the shoulder seam with right sides together.  Cut a bias strip of fabric to finish the armhole, sew it.

 Cut a 1 inch wide strip of fabric, on the grain, the same length as the flounce, and sew the ends together, with right sides together.   Finish one edge, I serged it.

Finish the free edge of the flounce. I used a rolled hem, but a narrow hem will do.


 Pin the flounce to the top. The right side of the top to the wrong side of the flounce. then place the strip of fabric on top, wrong side up.  Align the seams from the strip, the flounce, and the underarm seam.
 Fold the strip of fabric to the inside, and sew from underneath the flounce.
Measure a length of elastic snug around your shoulder and under your arm, like the flounce, but snug. Sew the ends together. Sew the elastic to the inside of the top, close to the edge.
 Go ahead, try it on, ......
Hem the top, and you are ready to wear it as is, with a belt at the waist, or do like I did, and sew straight rows of stitches at the bottom, with elastic thread on the bobbin,  for a shirred, or blouson effect.  
You can also, gather the bottom, and sew a ribbon, or a sash of self fabric, that can be tied on the side.
                                          Find somewhere sunny to go !!!!!!!!!!!!!!!!!!!!!!!!